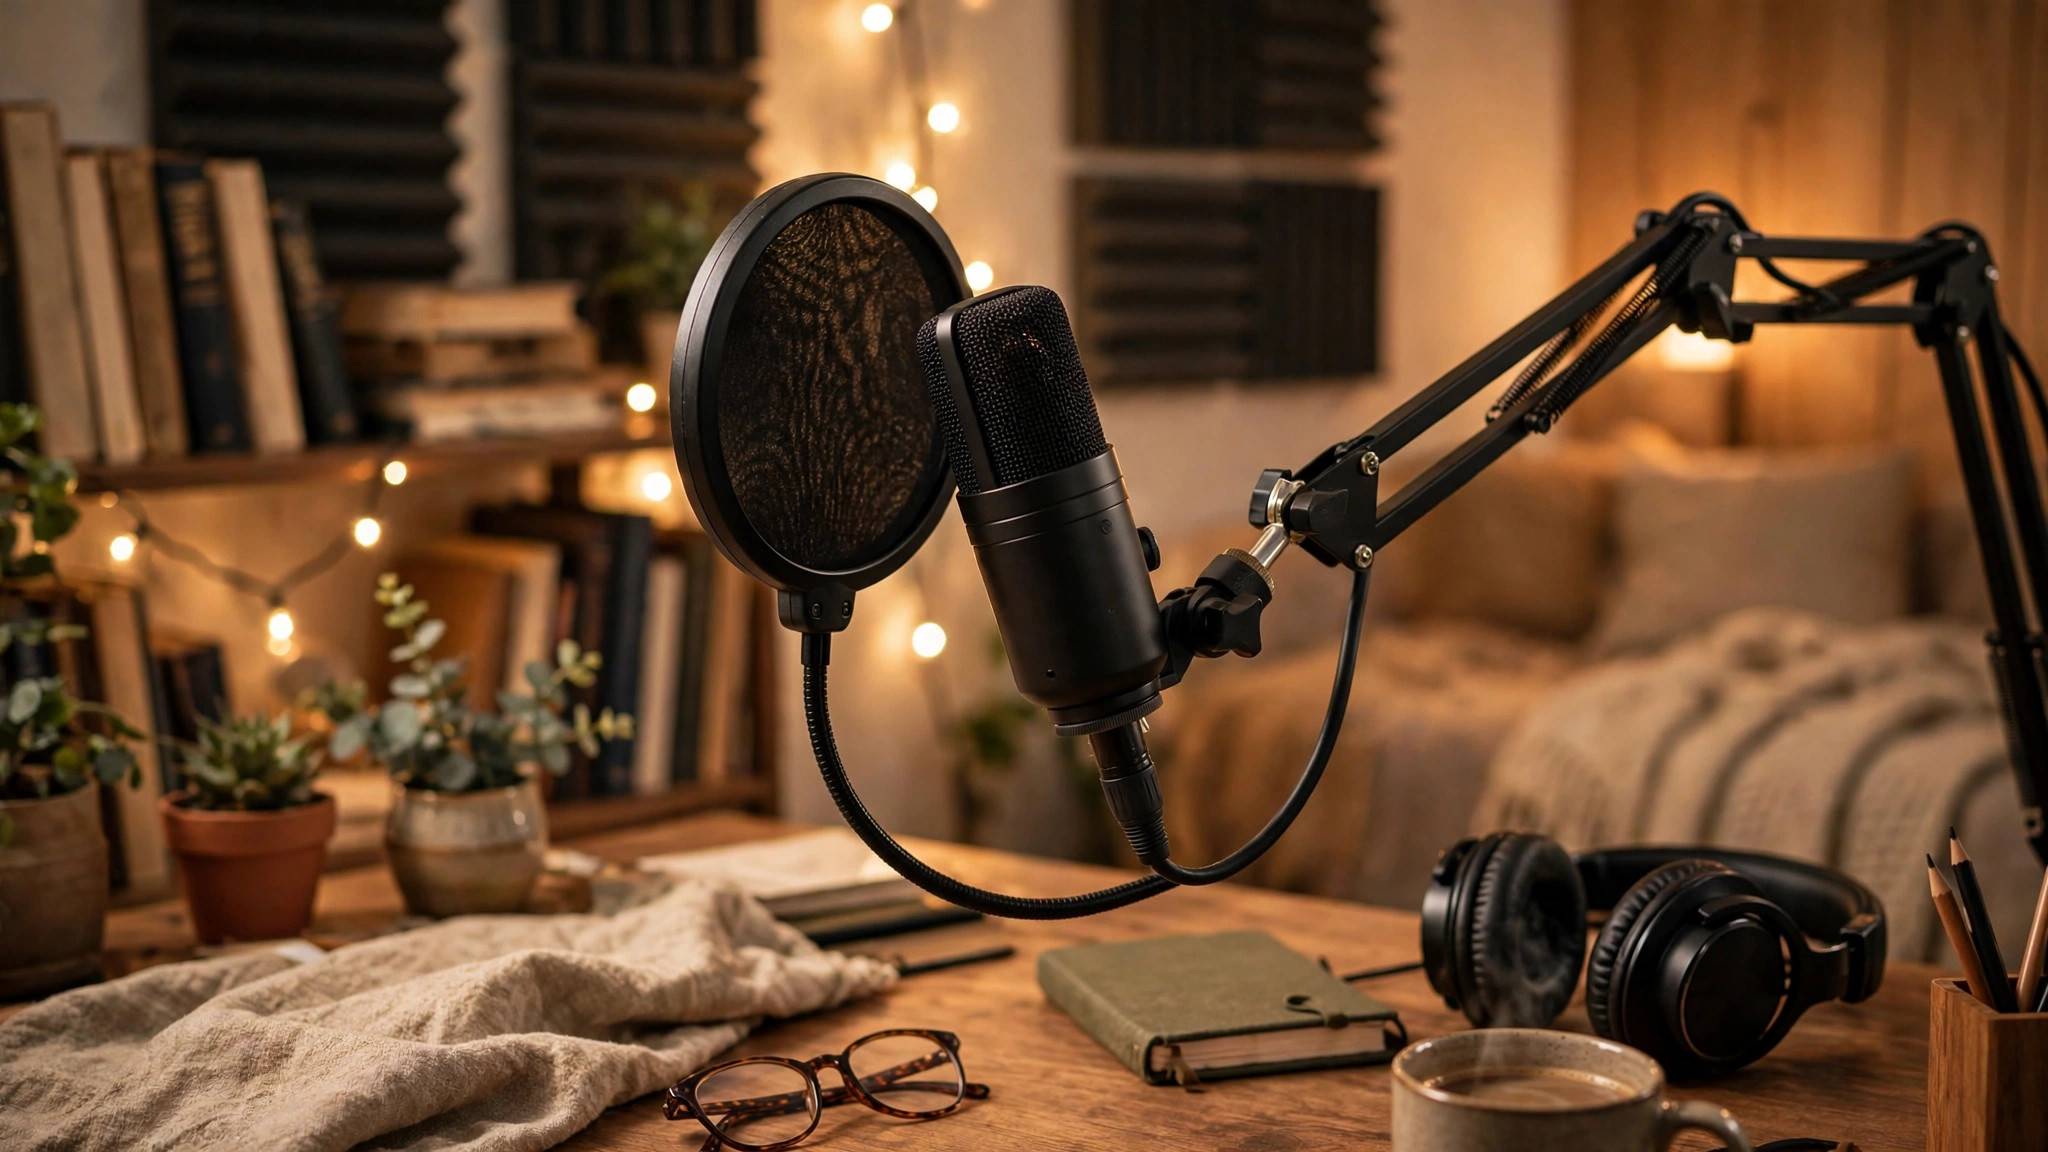
Listeners forgive a shaky camera — they never forgive bad audio. The good news: in 2026, broadcast-quality podcast sound starts under $100, if you pick the right type of mic.
USB vs XLR: Keep It Simple
Beginners should buy USB. A USB mic plugs straight into your computer with no interface, no drivers, no mixer — you can be recording in five minutes. XLR mics need an audio interface or mixer, which adds cost and complexity but gives cleaner gain control and upgrade paths later. Start USB, upgrade to XLR only when your show outgrows the basics.
Dynamic vs Condenser
Dynamic mics are the podcast standard for a reason: they reject room noise, tolerate imperfect rooms, and love close-up speech. Condensers capture more detail but also more of your room — the fridge hum, the street, the echo off bare walls. Recording at home in an untreated room? Choose dynamic. In a treated studio, a condenser can sound gorgeous — but most beginners do not have one.
Your Room Matters More Than the Mic
A $70 mic in a soft room beats a $400 mic in a tiled kitchen. Record in the smallest, softest room available — clothes, curtains, and a rug kill echo for free. Close windows, turn off the fan and fridge during recording. Get close: 4–8 inches from a dynamic mic with a pop filter. Speak slightly off-axis to avoid harsh "p" and "s" pops.
Budget Picks That Work
On a tight budget, look for a well-known USB dynamic mic with a built-in headphone jack for zero-latency monitoring. Mid-range picks add tappable mute buttons and better shock mounts. Whatever you buy, add a boom arm and a pop filter — two cheap accessories that make any mic sound twice as professional. Test-record a minute and listen on earbuds before committing to a full episode.
Smart start: USB dynamic mic + boom arm + your closet (yes, really — clothes are free acoustic panels). Sound like a pro before you spend like one.