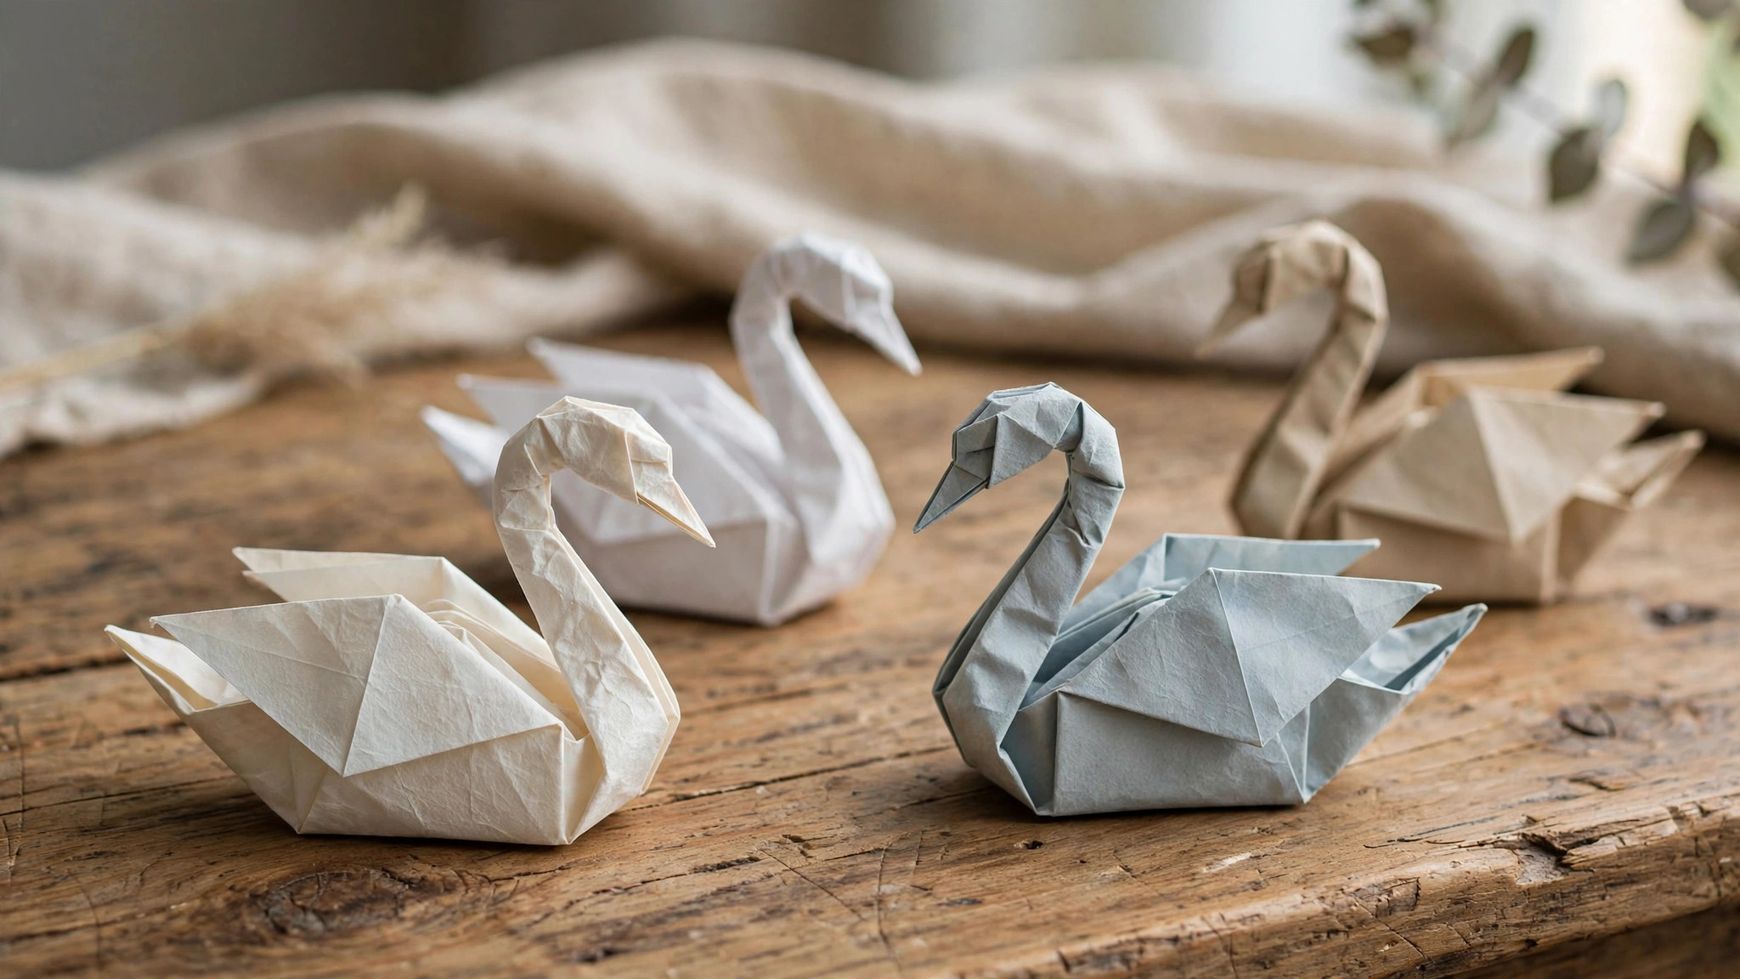
Origami turns a single square of paper into cranes, boxes, and flowers — no glue, no scissors, just folds. Crisp, precise creases are the entire craft; sloppy folds compound into crooked models.
Choosing the Right Paper
Standard 15cm origami paper (kami) is thin, holds creases well, and comes in colors that help you track folds. Start with real origami paper, not printer paper — thick paper fights you on every fold. Larger 20cm sheets make early models easier to handle.
Master the Five Basic Folds
Valley fold, mountain fold, squash fold, petal fold, and reverse fold build nearly every beginner model. Practice each fold until it is automatic — complex models are just these five in sequence. Use a fingernail or bone folder to sharpen every crease.
Reading Origami Diagrams
Dashed lines mean valley folds, dot-dash lines mean mountain folds, and arrows show fold direction. Learn the symbol key once and every diagram in every book becomes readable. Video tutorials help when a diagram step confuses you.
Easy First Models
Fold a paper crane (the classic), a masu box, a jumping frog, and a simple boat. The crane teaches the bird base used in dozens of models — it is the most valuable fold you will learn. Repeat each model three times; the third attempt always looks dramatically better.
Troubleshooting Crooked Models
Misaligned edges early on multiply into lopsided finishes, so unfold and redo any fold that looks off. Never force a fold that resists — back up one step and check your crease alignment. Patience at step 3 saves the model at step 30.
Growing Beyond Beginner
Once basics feel easy, try modular origami (many units, one sculpture), simple animals, and gift boxes. Modular origami builds impressive pieces from easy repeated units — big wow, small difficulty. Join online folding communities for diagrams and encouragement.