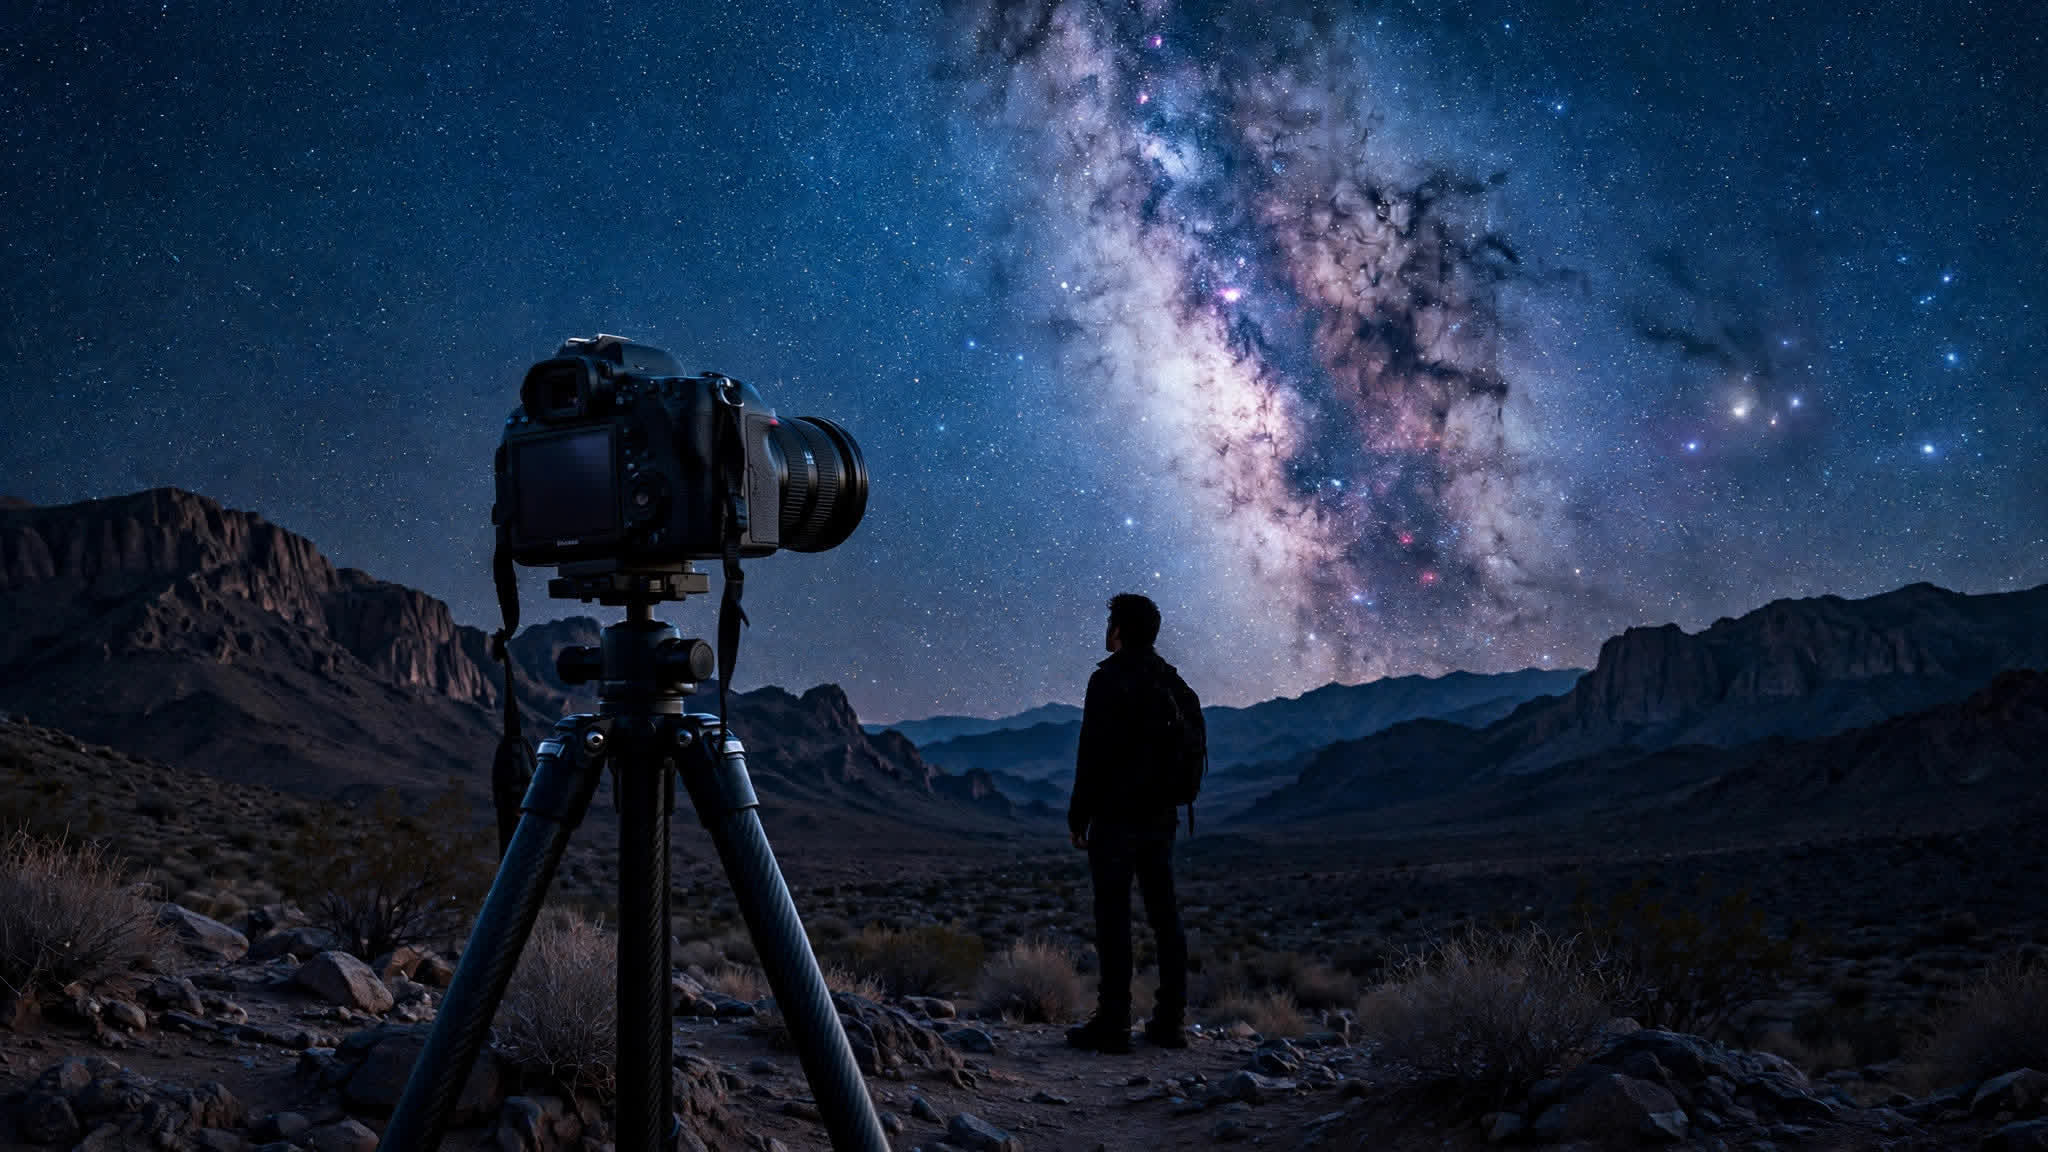
That glowing band of the Milky Way overhead is invisible to your phone's auto mode — but with a basic camera, a tripod, and the right settings, you can photograph it tonight. Astrophotography looks technical, yet the fundamentals are simple. Here's everything a beginner needs to get started.
The Gear You Actually Need
A tripod is non-negotiable — exposures last several seconds, and no hand is steady enough. Any DSLR, mirrorless camera, or recent flagship phone with a manual mode works. A wide-angle lens (14–24mm) with a fast aperture of f/2.8 or wider captures the most sky. Add a remote shutter or use the 2-second self-timer to avoid shake. Nice-to-haves: an extra battery (cold nights drain them fast) and a headlamp with a red light to protect your night vision.
Camera Settings That Work
Start with this reliable recipe: manual mode, f/2.8, ISO 3200, 20-second shutter speed, manual focus set to infinity, white balance around 3800K. The key limit is the "500 rule": divide 500 by your focal length for the max exposure time before stars turn into trails — at 20mm that's 25 seconds. Shoot RAW, not JPEG, so you can pull detail out of the shadows later. Check the result zoomed in at 100% to confirm the stars are pin-sharp points.
Where and When to Shoot
Location matters more than gear. Get away from city lights — use a dark-sky map to find Bortle 3 or darker skies within driving distance. Shoot during a new moon, when moonlight won't wash out faint stars; the week around the new moon is prime time. The Milky Way core is visible roughly April through September in the northern hemisphere, rising after midnight in spring and in the evening by late summer. Arrive 30 minutes early so your eyes adapt.
Focusing in the Dark
Autofocus fails on stars, so focus manually using live view: zoom in on the brightest star, and turn the focus ring until it's the smallest, sharpest point possible. Tape the focus ring in place afterward so a bump doesn't ruin the night. If your lens has a hard infinity stop, don't trust it blindly — the true infinity point often sits slightly before the mark, so always verify on a test shot.
Simple Editing, Big Results
Editing is where good shots become stunning. Raise the exposure slightly, deepen the blacks, and add white-balance warmth — that's 80% of the magic. Carefully lift the shadows to reveal Milky Way dust lanes without adding noise. Free tools like Sequator can stack multiple frames to reduce noise dramatically — take ten identical shots and merge them. Keep edits honest: subtle and natural always beats over-processed neon skies.