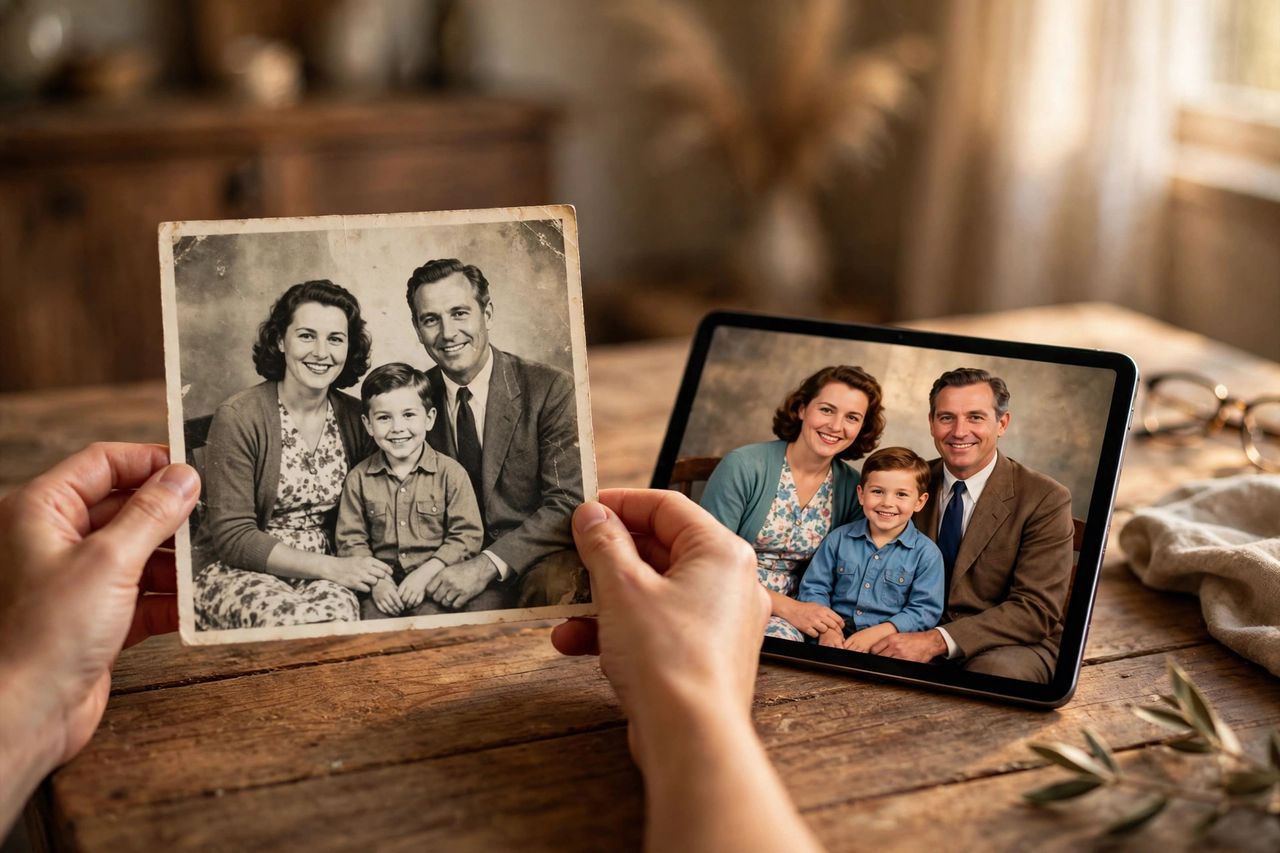
That shoebox of faded wedding photos and torn childhood pictures is not a lost cause. In 2026, AI photo restoration can rebuild faces, erase scratches, add color, and sharpen detail in seconds — work that used to take a professional retoucher hours. You do not need any editing skills. You just need a decent scan and the right steps, which this guide walks you through.
Step 1: Scan Your Photos Properly
AI can only fix what it can see, so the scan matters more than the tool. Use a flatbed scanner at 600 DPI or higher if you have one. No scanner? A phone scanning app in bright, even daylight works surprisingly well — lay the photo flat on a dark surface, hold the phone steady, and avoid shadows. Clean dust off the print first with a soft brush. Scan even damaged photos: torn corners and cracks are exactly what AI repair tools handle best.
Step 2: Repair Scratches, Tears & Fading
Modern restoration tools use AI inpainting, which intelligently reconstructs missing areas by understanding what should be there. Upload your scan, let the tool detect scratches, dust, and stains automatically, then review the result. For deep tears or missing chunks, run the repair twice — a second pass often cleans up what the first pass missed. Yellowed or washed-out photos usually improve dramatically with automatic color correction, which rebalances the tones the years stole.
Step 3: Colorize Black-and-White Photos
One of the most magical steps is AI colorization: turning a gray 1940s portrait into a full-color image. The AI predicts realistic colors based on millions of trained photos. Results look natural for skin tones, clothing, and outdoor scenes. Keep expectations honest — the AI guesses colors, so your grandmother's dress might not have been exactly that shade of blue. You can usually adjust the saturation or try a few variations until one feels right.
Step 4: Upscale & Print Your Restored Photos
Old scans are often tiny, so AI upscaling enlarges them 2x–4x while adding real detail instead of blur. This is what makes a restored photo printable as an 8×10 frame or a photo-book page. When printing, choose matte or luster paper — it hides minor imperfections better than glossy. And the most important step of all: save your restored files in at least two places, such as your phone and a cloud drive, so these memories are never at risk again.
Start with just one favorite photo today. Once you see a cracked, faded print transform into a clear image of your grandparents, you will want to restore the whole box. Family history is worth saving — and in 2026, AI makes it easy.